

DIY Reflow Plate
This is how I turned a cheap hot plate into a DIY reflow plate. I've been thinking of building a toaster reflow oven for a long time, but I've heard they have trouble getting hot enough for lead free solder. Hot plates don't have that problem, so I decided to build one of them instead.
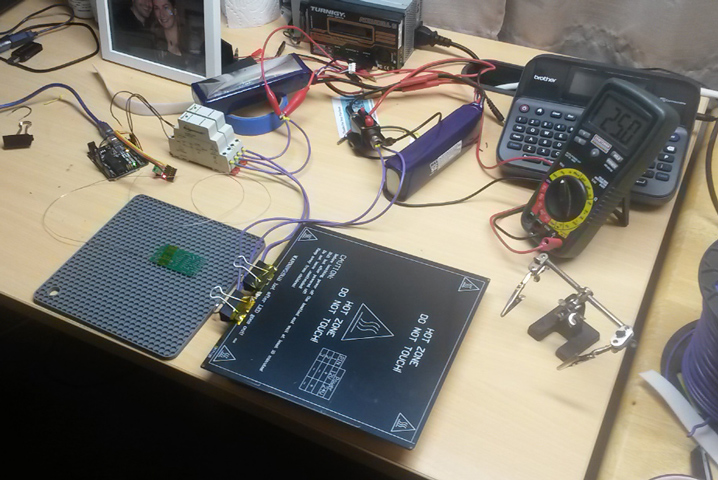 Here's my first setup. I thought I could be clever, and use a 3D printer heated bed. I bought a 12v bed and ran it on 25 volts for added power. I figured, hey it's basically a PCB, so it should be able to handle reflow temperatures.
..It could not. I was able to get it up to 250C, but bubbles started forming under the surface almost immediately. The ruined bed went in the trash, and I went back to the drawing board.
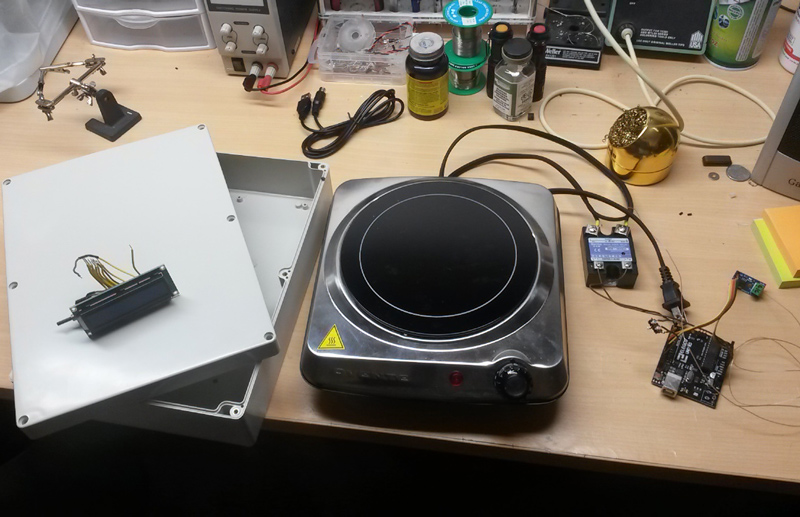
 For round 2 I opted for a hot plate. This should have no trouble handling the temperature. I went with an Infrared model, because I figured the heat distribution would be more even.
To test it, I spliced a solid state relay into the cord, and connected that to an Arduino. To read the temperature I used a thermocouple connected to a (probably counterfeit) MAX6675 from Amazon.
 And it worked! I was able to use it for a work project right away. I didn't give it an interface besides a start and stop button. To change the profile I had to reprogram the Arduino.
Here you can see the readout.
 After the last entry, I used the system a few more times; carefully boxing and unboxing the jumble of wires every time.
With the system working well, I decided to make it more permanent. Key additions will be an enclosure, and a way to adjust the parameters without a computer.
Luckily I already had an enclosure, encoder, and LCD lying around.
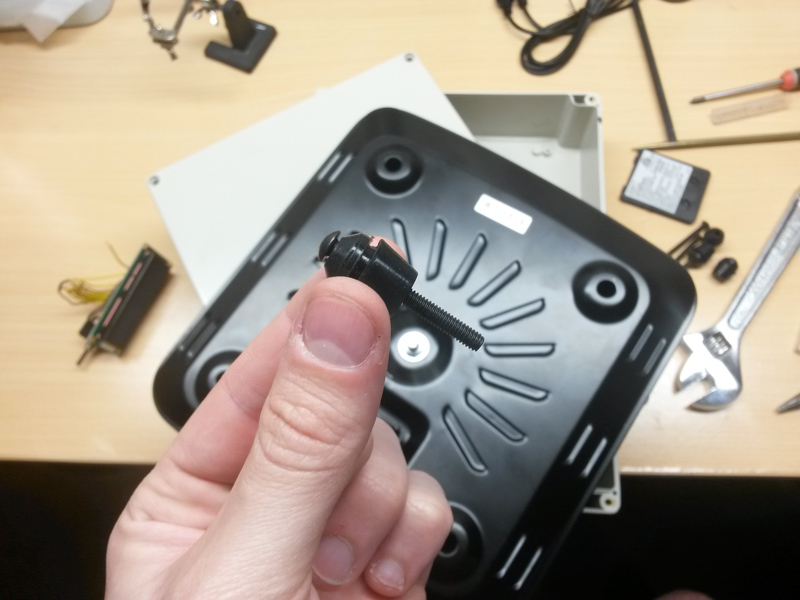 Attaching the hot plate to the enclosure was more difficult than expected. There's a big bolt holding it together, and it turns freely on the inside... Luckily, the rubber feet are hollow, so I poked screws through them and basically used them as standoffs.
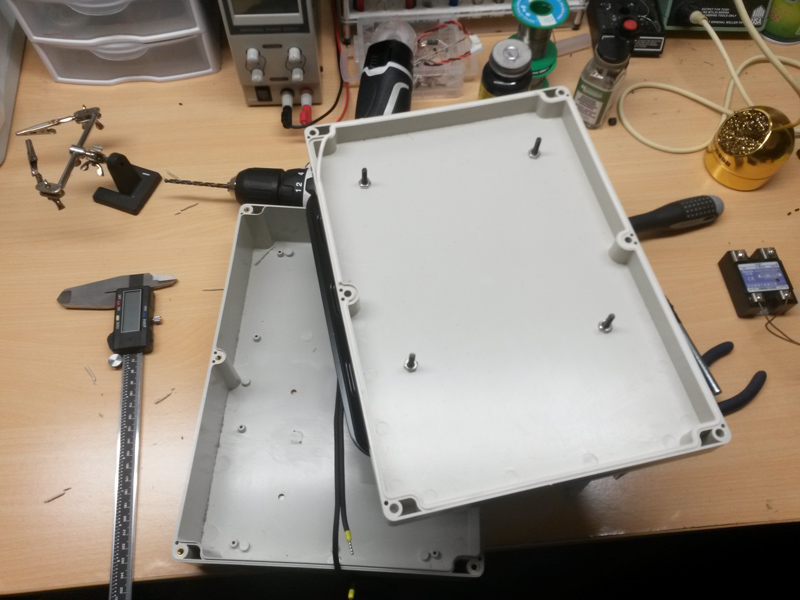 Enclosure drilled and feet bolted on.
 Next I drilled holes for the hot plate power cord to enter and exit.
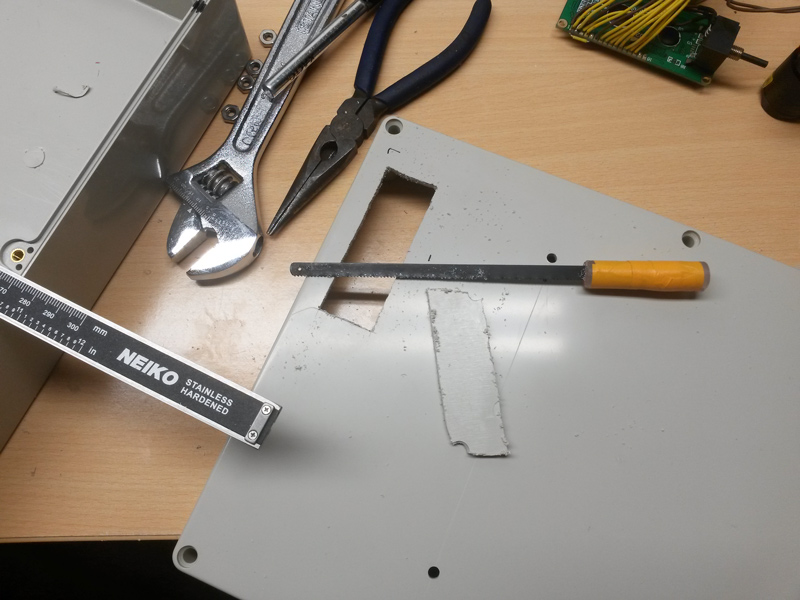 I cut out a rectangle for the LCD using my "prison saw" which is a coping saw blade with a small handle attached.